Preparation
In our tiny house project to create a garage annex I needed to dig a trench and backfill in a tarmac drive without using an excavator. The purpose of this trench was to run the mains drainage. The trench is also suitable for an armoured cable, water, drainage or many other uses. The principle also applies on how to dig a trench in the garden. To dig a trench takes a lot of planning. The trench must apply to building regulation standards code and I will cover these in a later post.
I inspected the driveway for signs of previous trenches as these could indicate services may be in the area where you need to dig. Using a marker pen running along a piece of wood I marked a straight line to cut, although it is also possible to use spray paint to mark the area to dig.

There is a lot of personal protection equipment for this job which included:
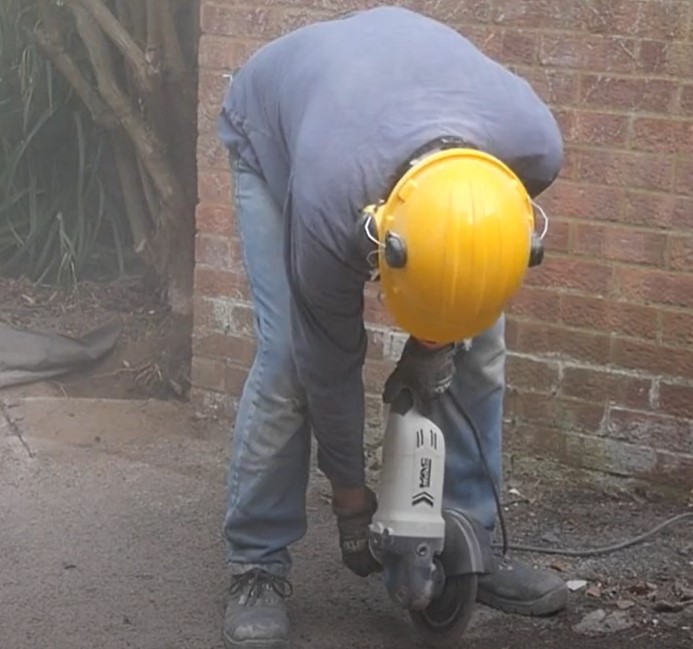
- Ear defenders as some of the equipment is loud.
- Googles to prevent stones flying into your eyes.
- Mask as the job is dusty.
- Gloves, initially I used regular building gloves and then for using the compacting vibration plate switched to anti-vibration gloves.
- Steel toe cap boots to protect your feet.
Digging the trench
To cut the tarmac I used an angle grinder with a concrete blade. As I was using 240V power, I plugged into an RCD protected socket. Before I started cutting, I made sure the ground was clear from any stones that might fly up and injure me. Using the angle grinder, I cut along the line marked.
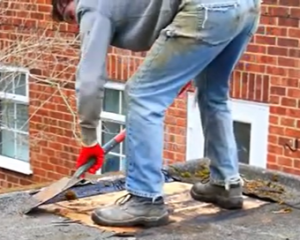
I made two tramlines in the tarmac and used a breaker to cut it into chunks. To start breaking up the tarmac I chopped it at the edge of the trench using a cheap Macalister breaker from Screwfix. I cut the tarmac into large chucks and disposed of it.

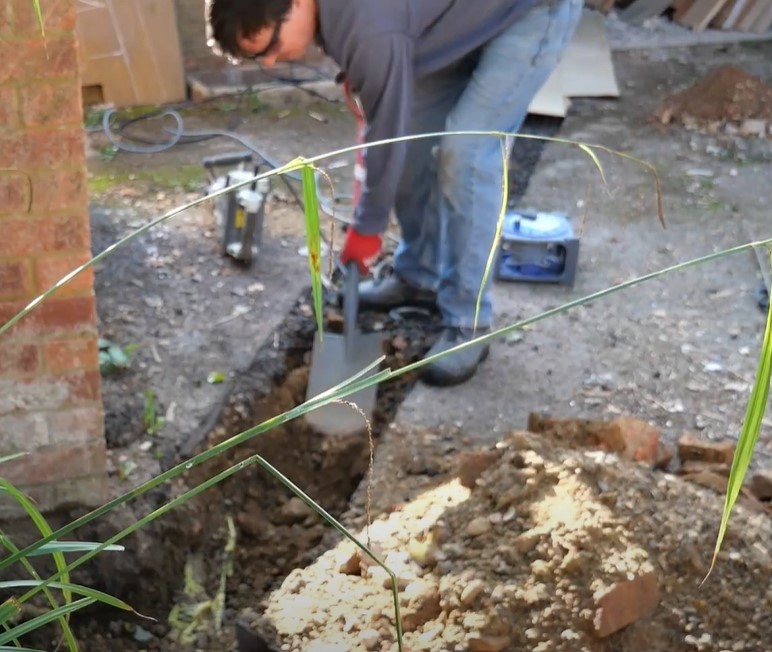
In driveway construction, Tarmac is usually laid on MOT hardcore. I had to dig this out followed by the earth. To keep the driveway cleaner I should have laid some tarpaulin to put the spoil on. Our trench also was full of old bricks which made digging difficult so I used a combination of the breaker, spade and hands to remove all the spoil from the trench. I measured the trench frequently to ensure it did not exceed the depth required and also for motivation!
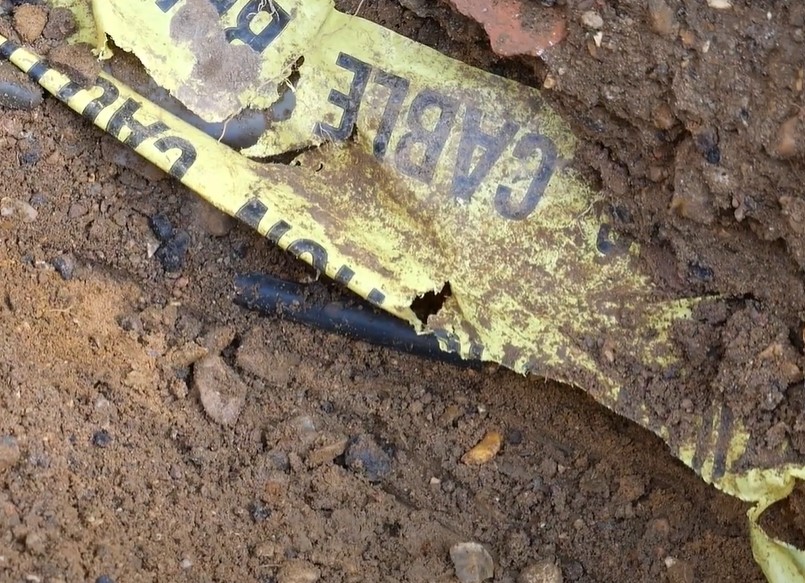
I had to watch out for any hidden services. If you find any services that are in the ground they should be indicated with a tape warning. Here is an example of a power cable running across the trench.
Once at the desired depth I laid the drains. I will post a separate article on this.
Backfill the trench
I back filled over the services with pea shingle.
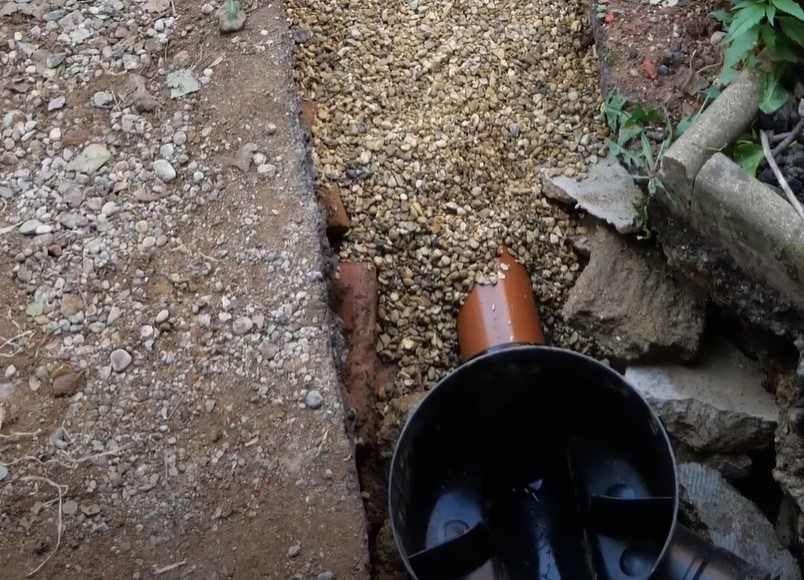
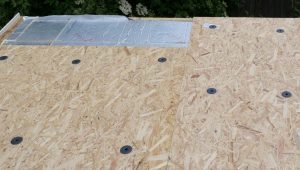
I covered the pipework to the level indicated by the manufacturer. I filled in the trench with some of the spoil and then topped with hardcore MOT. To calculate the quantities required I went to the supplier’s website where it listed the coverage. I then compacted the hardcore with a single pass of my compactor plate. For groundwork I had purchased a Scheppach HP1200 vibration compactor plate. You can find my review on it here.
I sprayed the edges of the trench where the existing tarmac would join with cold lay sealer, which comes out like black spray paint. Then I filled up my trench with cold lay tarmac.
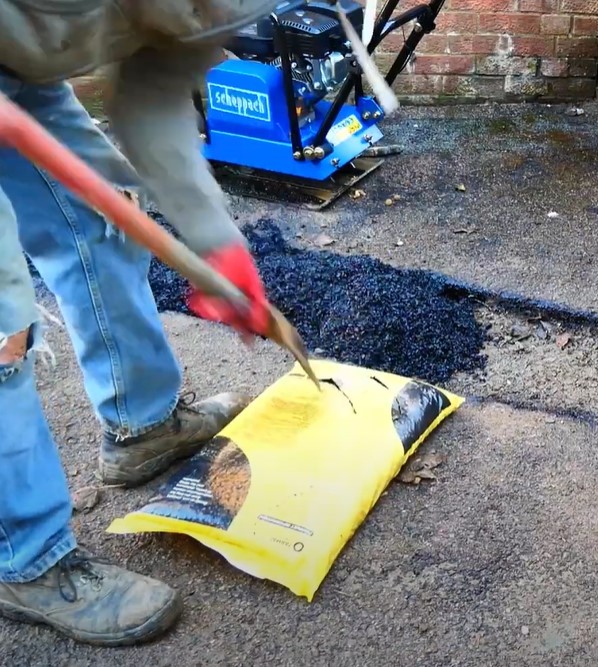
The bags indicated their capacity to fill the trench, so yI had to perform some calculations to make sure I had enough. I found the tarmac compressed more than indicated so I needed to get some more.
Here you can watch me build my trench.